ابراهيم الشنطي
Admin

عدد المساهمات : 69619
تاريخ التسجيل : 28/01/2013
العمر : 77
الموقع : الاردن
 | | موضوع: Ubuntu Desktop 12.04 LTS - الإثنين 03 يناير 2022, 6:20 pm | |
| { Installing Ubuntu Desktop 12.04 LTS - Disable VMWare Easy Install }
| Section 0. Background Information |
- What is Ubuntu?
- Ubuntu is a computer operating system based on the Debian Linux distribution and distributed as free and open source software, using its own desktop environment. It is named after the Southern African philosophy of ubuntu ("humanity towards others")
- Most coverage of Ubuntu focuses on its use on desktop personal computers but it is also used on servers and for cloud computing.
- Ubuntu is sponsored by the UK-based company Canonical Ltd., owned by South African entrepreneur Mark Shuttleworth.
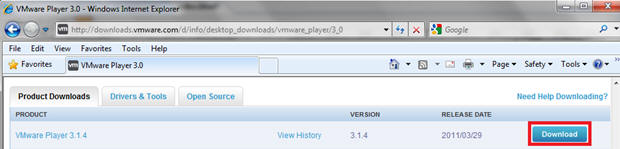
- Download VMware Player
- Instructions
- On any Window's machine, download VMware Player, if you have not already done so.
- http://downloads.vmware.com/d/info/desktop_downloads/vmware_player/3_0
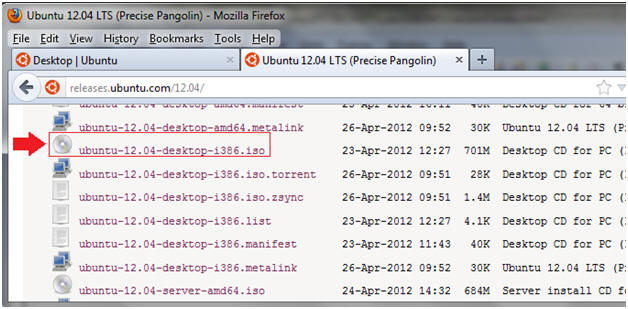
Download Ubuntu 12.04
Instructions
http://releases.ubuntu.com/12.04/
Click on ubuntu-12.04-desktop-i386.iso
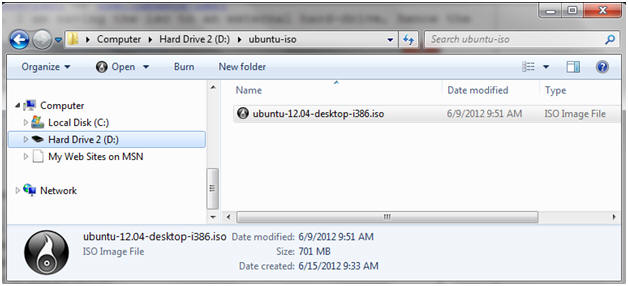
Save the iso
Instructions
Save To C:\ubuntu-iso\ or USB:\ubuntu-iso\
In my case, I am saving the iso to an external hard-drive, hence the (D:)
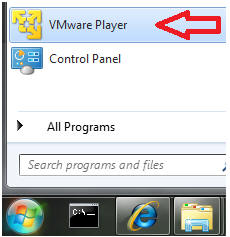
| Section 2. Create a New Virtual Machine |
- Open VMware Player on your windows machine.
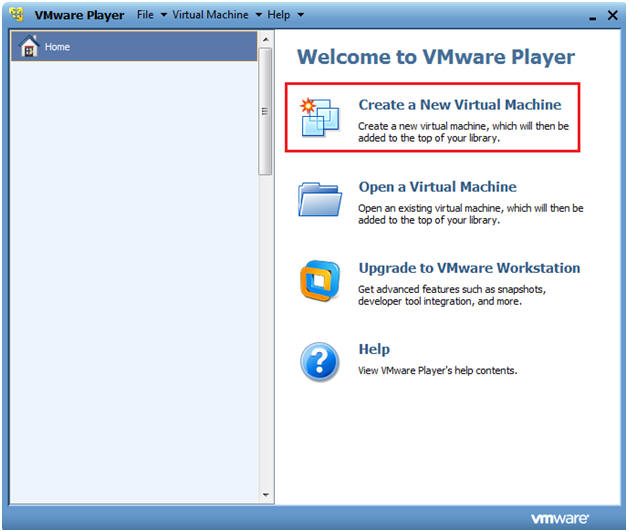
Create a New Virtual Machine
Instructions
Once VMware Player opens, Click on home, then click on create a new virtual machine.
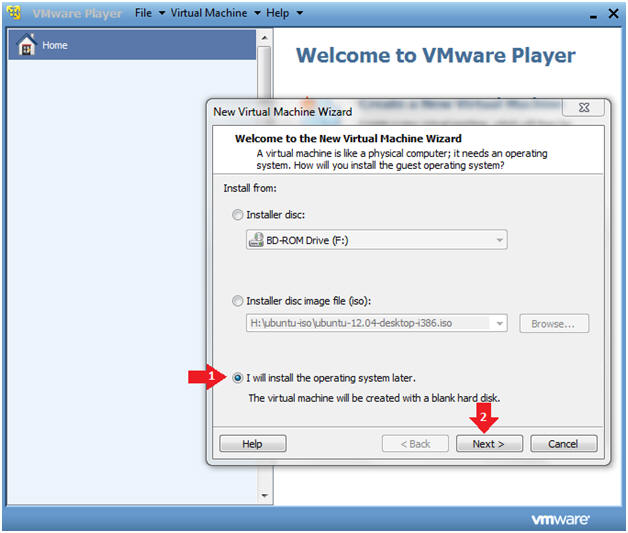
Install Operating System Later.
Instructions
Select the "I will install the operating system later." radio button.
Click Next.
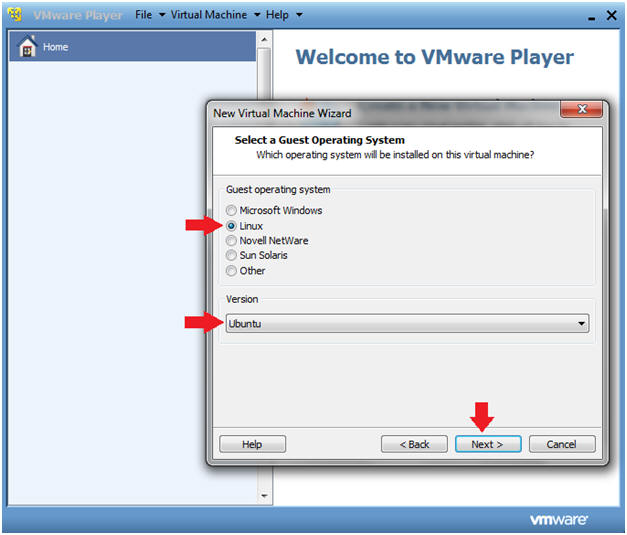
New Virtual Machine Wizard
Instructions
Guest operating system: Linux
Version: Ubuntu
Click Next
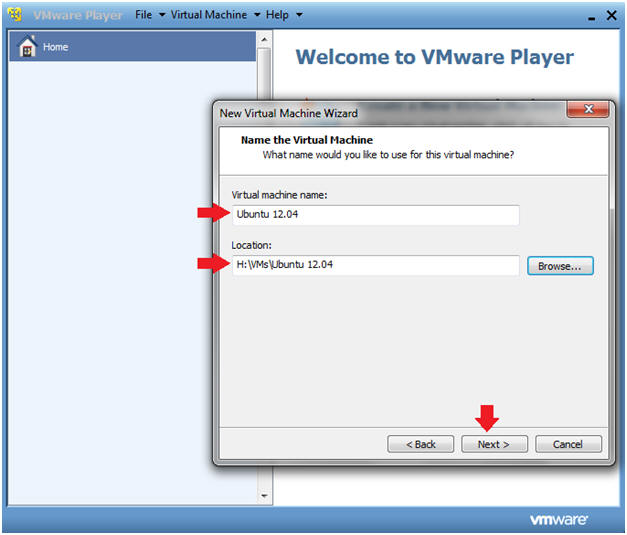
Virtual machine Name
Instructions
Virtual machine name: Ubuntu 12.04
Location: USB:\Ubuntu 12.04
In my case, the USB letter is D:
Virtual machine Name
Instructions
Virtual machine name: Ubuntu 12.04
Location: USB:\Ubuntu 12.04
In my case, the USB letter is D:

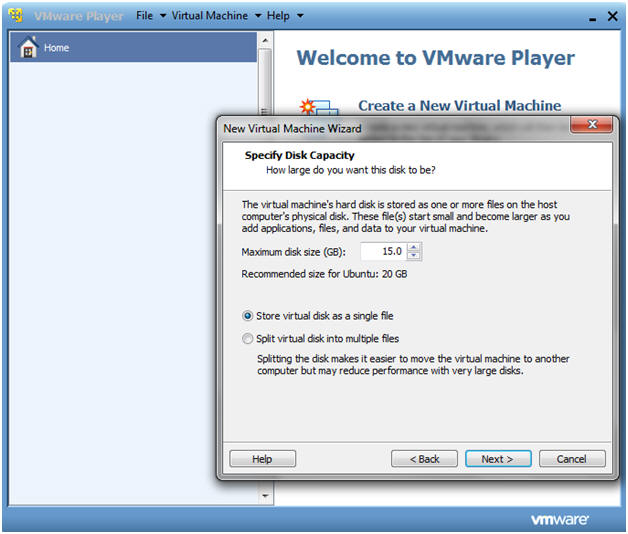
Specify Disk Capacity
Instructions
Maximum disk size (GB): 15.0
Select radio button --> Store virtual disk as a single file
Click the Next button
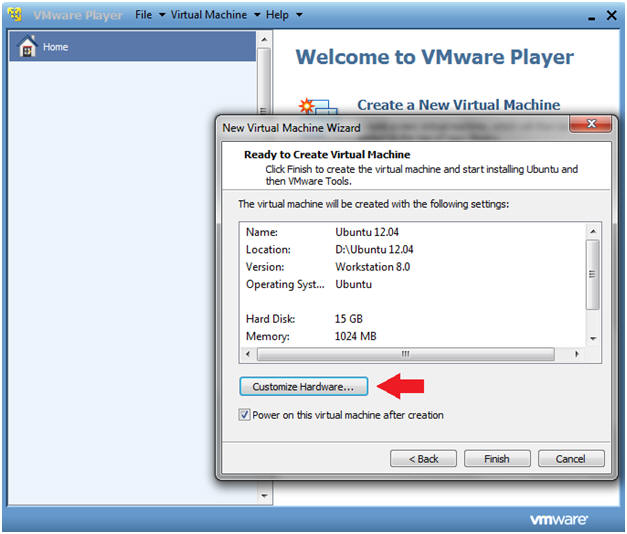
Customize Hardware
Instructions
Click on the Customize Hardware button
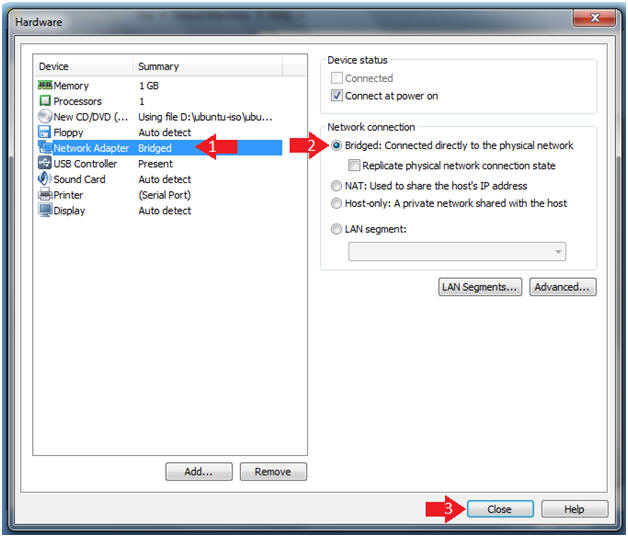
Configure Network Adapter
Instructions
Click on Network Adapter
Click on the Bridged Radio Button
Click on the Close Button
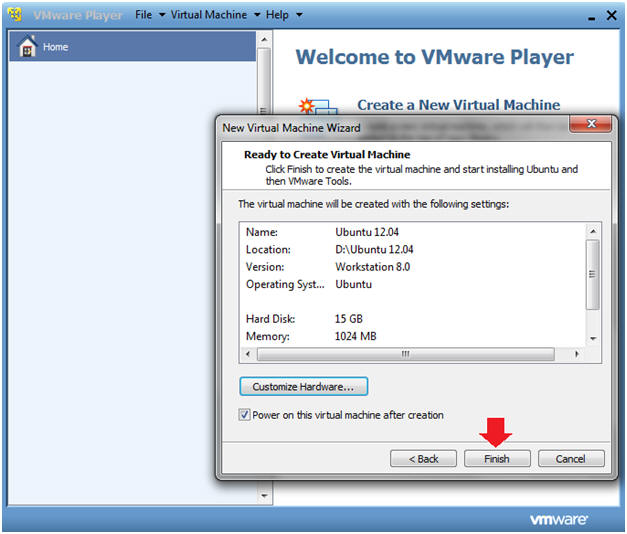
Finish Customization
Instructions
Click the Finish Button
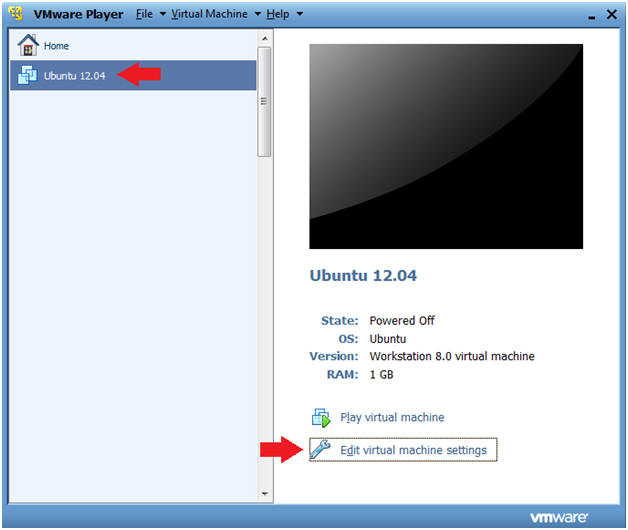
Edit VM
Instructions
Click on Edit Virtual Machine Settings
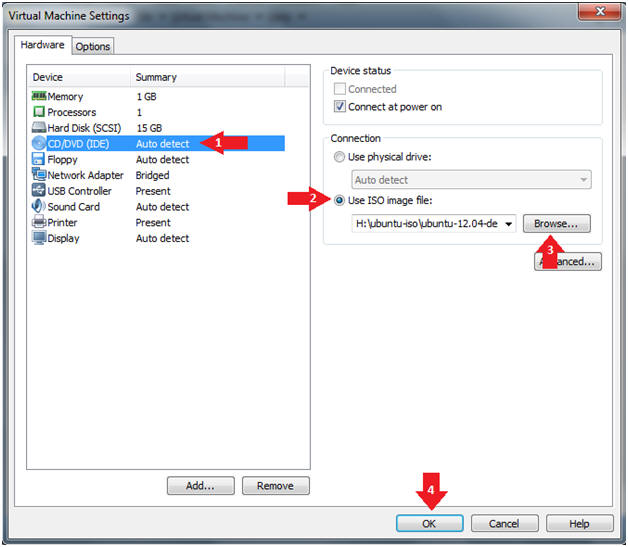
Edit Virtual Machine Settings
Instructions
Click CD/DVD (IDE)
Select the "Use image file:" radio button
Select the Browse button and navigate to ubuntu-12.04-desktop-i386.iso
Select the OK button
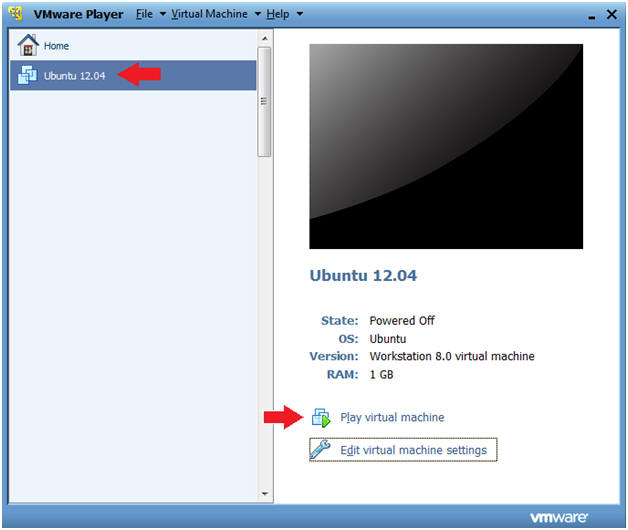
Play VM
Instructions
Click on play Virtual Machine
| Section 3. Ubuntu 12.04 Installation |
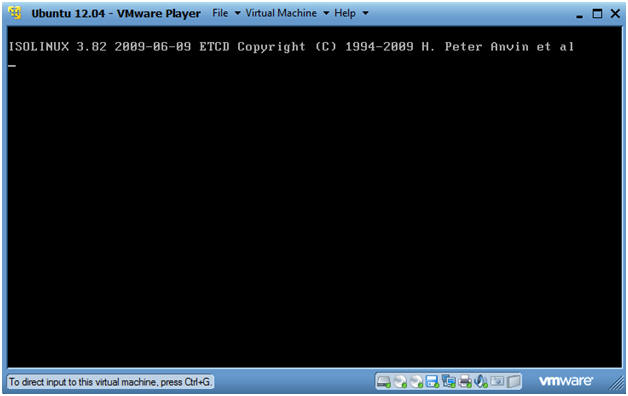
- ISOLINUX Screen
- Informational Only
- This is the first screen before the installation starts.
- Nothing is required from you.
- Continue to next step.
Ubuntu 12.04 Screen
Informational Only
This is the second screen you will see.
Nothing is required from you.
Continue to next step.
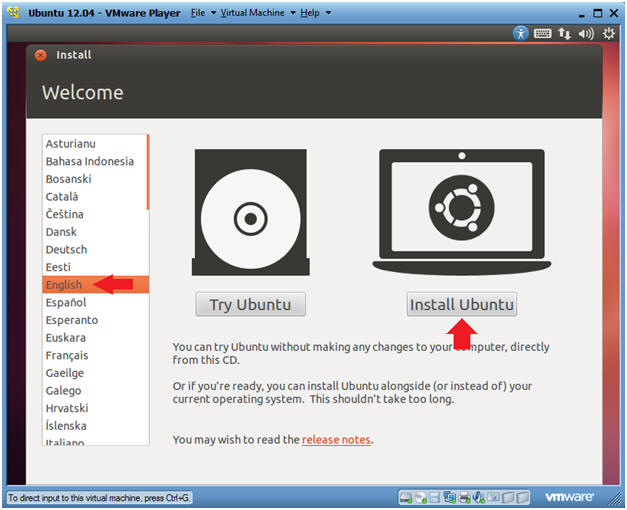
Welcome Screen
Instructions
Select English
Select Install Ubuntu
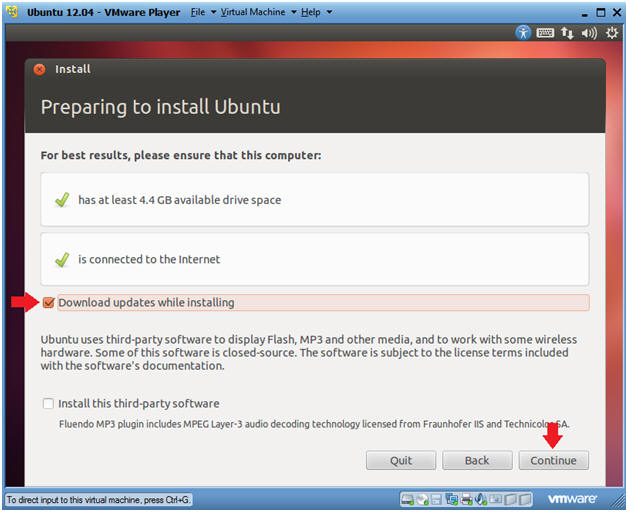
Preparing to install Ubuntu
Instructions
Click the "Download updates while installing" checkbox
Click the Continue button.
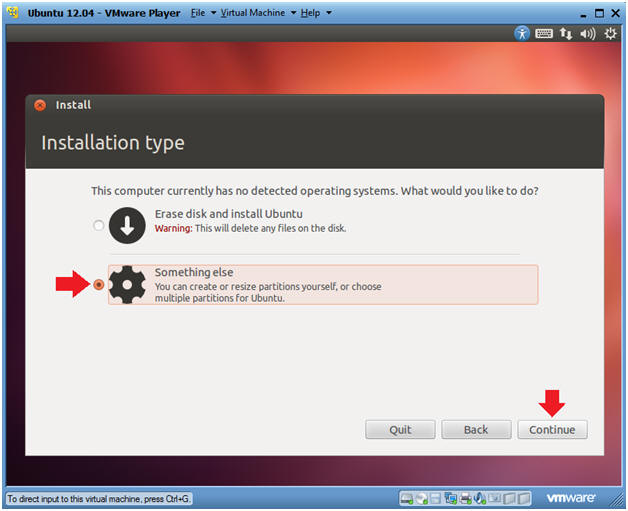
Installation type
Instructions
Click the "Something else" radio button
Click the Continue button
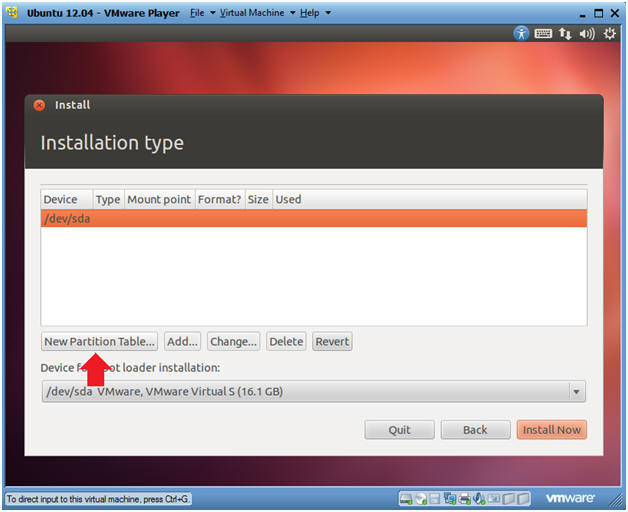
Installation type
Instructions
Click the New Partition Table...
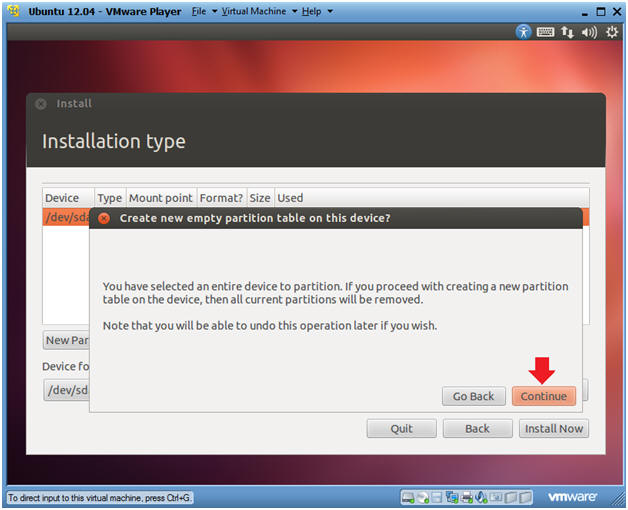
Create new empty partition table on this device?
Instructions
Click Continue.
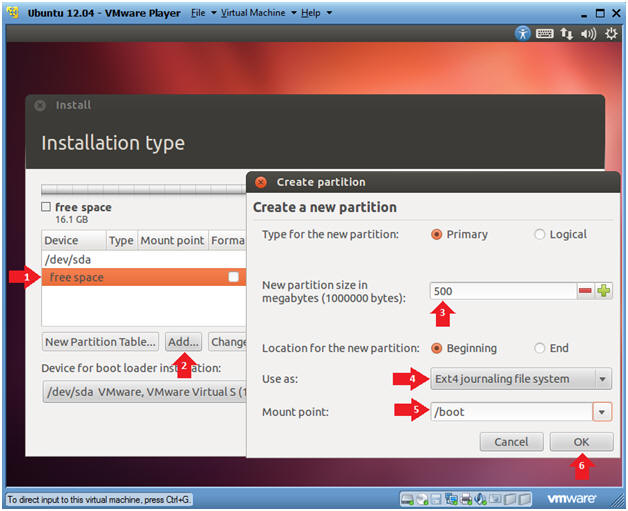
Create the /boot file system
Instructions
Click on free space
Click on the Add... button
New partition size: 500
Use as: Ext4 journaling file system
You can also select ext2, if you do not think your /boot file system will change. For class purposes use ext4.
Mount point: /boot
Click the OK button
Note:
The /boot partition holds the kernel and other data the system needs when it boots; it cannot be under the control of LVM.
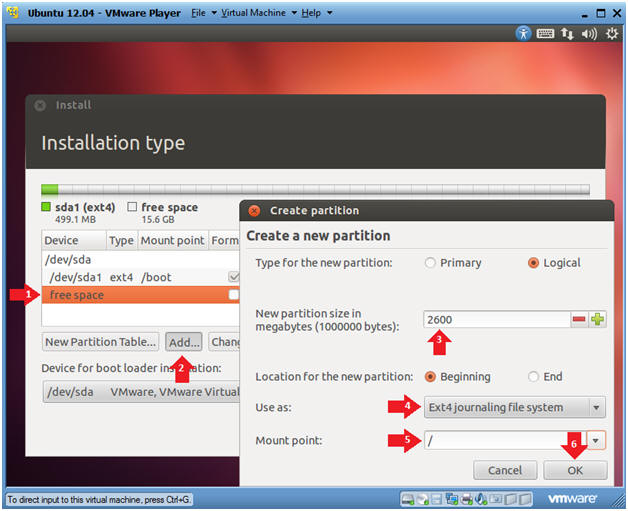
Create the / file system
Instructions
Click on free space
Click on the Add... button
New partition size: 2600
Use as: Ext4 journaling file system
Mount point: /
Click the OK button
Note:
Any file systems that are not created as a separate partition will become automatically part of the root(/) filesystem.
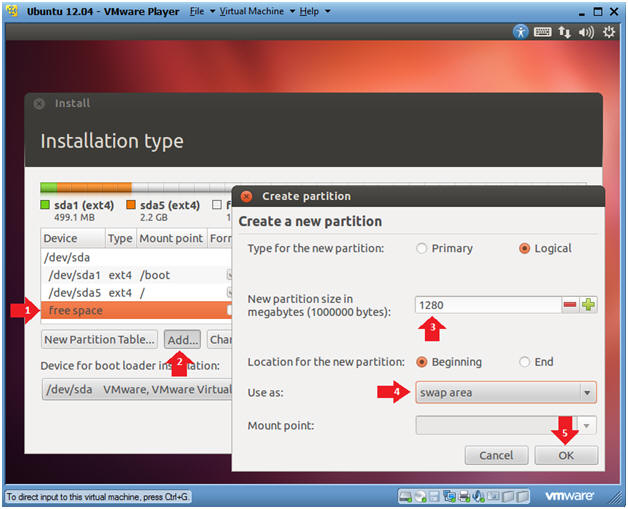
Create the swap file system
Instructions
Click on free space
Click on the Add... button
New partition size: 1280
Use as: swap area
Click the OK button
Note:
Linux temporarily stores programs and data on a swap partition when it does not have enough RAM to hold all the information during processing. Also, swap is used when the system goes into hibernate mode.
Create the /usr file system
Instructions
Click on free space
Click on the Add... button
New partition size: 3000
Use as: Ext4 journaling file system
Mount point: /usr
Click the OK button
Note:
The size of /usr depends on the number of software packages you install.

Create the /home file system
Instructions
Click on free space
Click on the Add... button
New partition size: 2000
Use as: Ext4 journaling file system
Mount point: /home
Click the OK button
Note:
Size depends on the number of users on the machine and the type of work they do.

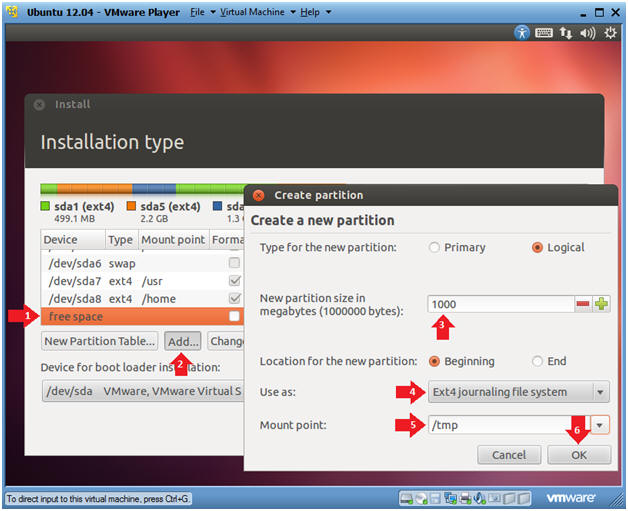
Create the /tmp file system
Instructions
Click on free space
Click on the Add... button
New partition size: 1000
Use as: Ext4 journaling file system
Mount point: /tmp
Click the OK button
Note:
Temporary files such as *.pid files reside here. For most Linux and Unix operating systems, data is not preserved between reboots.
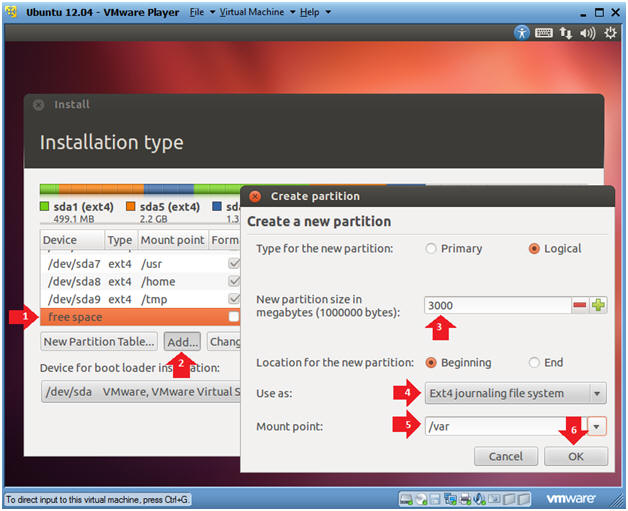
Create the /var file system
Instructions
Click on free space
Click on the Add... button
New partition size: 3000
Use as: Ext4 journaling file system
Mount point: /var
Click the OK button
Note:
/var is short for variable. Data in this partition changes frequently.
/var/log - Where the system log messages are stored.
/var/mail - Where mail is stored
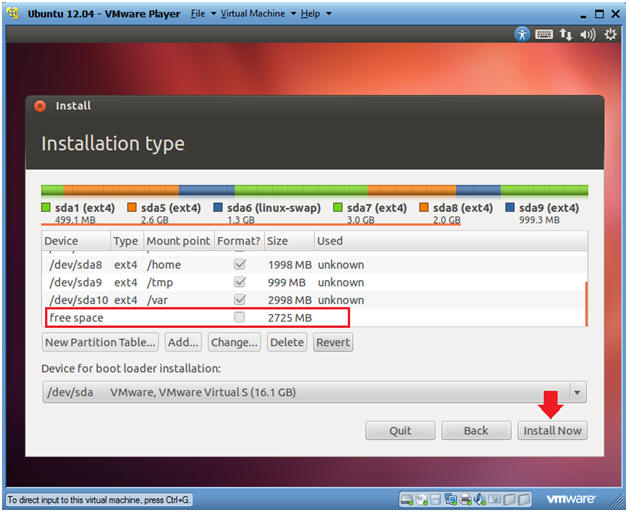
Install Now
Note
Notice there is 2725 MB left in free space.
This is on purpose and will be used later to expand files systems.
Instructions
Click the Install Now Button
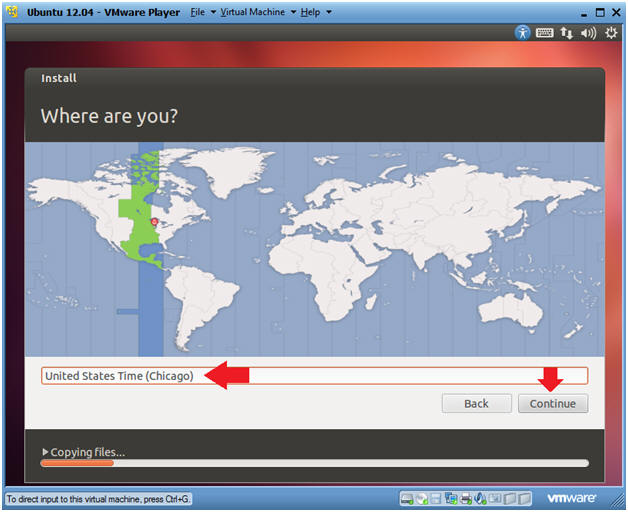
Where are you?
Instructions
Select Time Zone
Click Continue
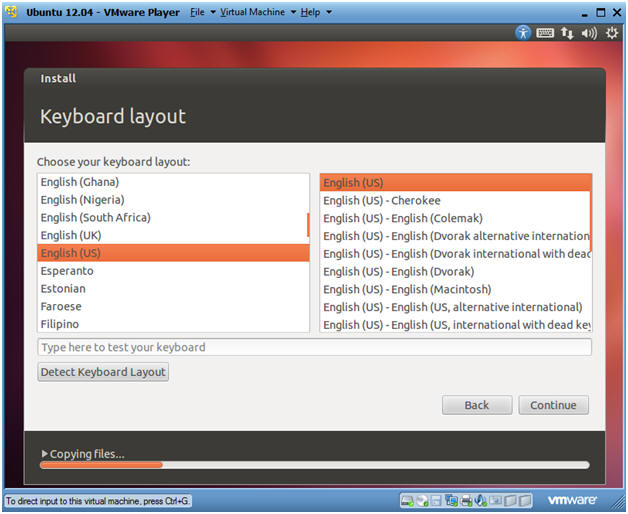
Keyboard layout
Instructions
Choose your keyboard layout: English
Click Continue
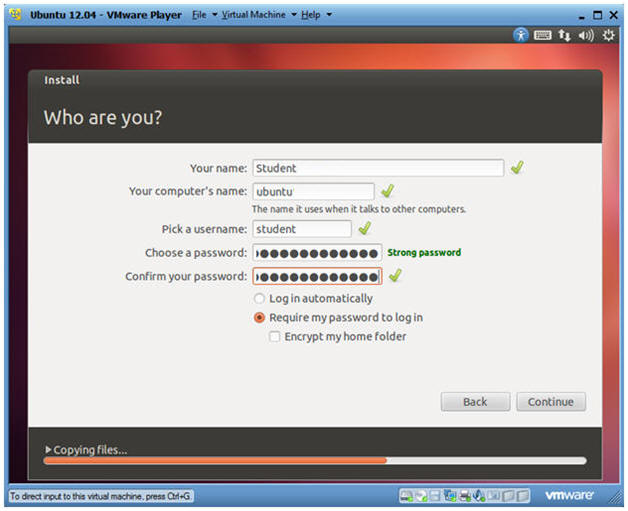
Who are you?
Instructions
Your name: Student
Your computer's name: ubuntu
Pick a username: student
Choose a password:
At least 8 characters
Alpha-Numeric
Uppercase and Lowercase
Symbols (!@#$%^&*, etc)
Require my password to log in
Click Continue
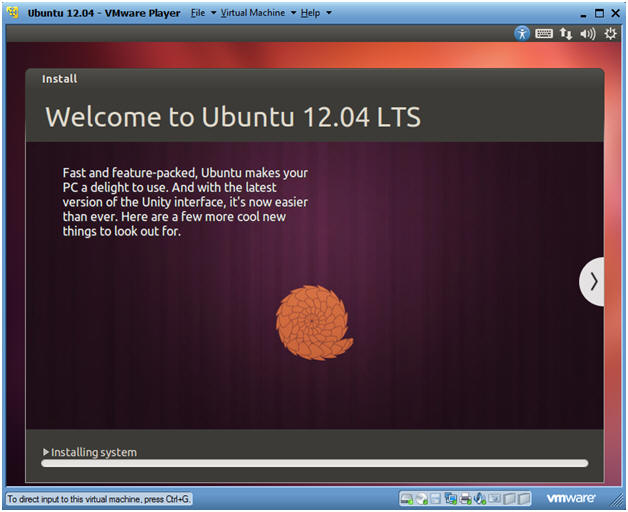
Actual Installations
Instructions
This installation will take between 10 and 30 minutes depending on your machine resources.
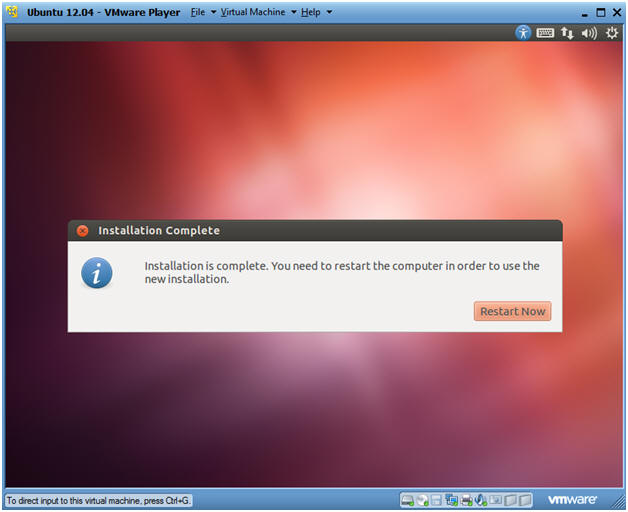
Installation Complete
Instructions
Click Restart Now
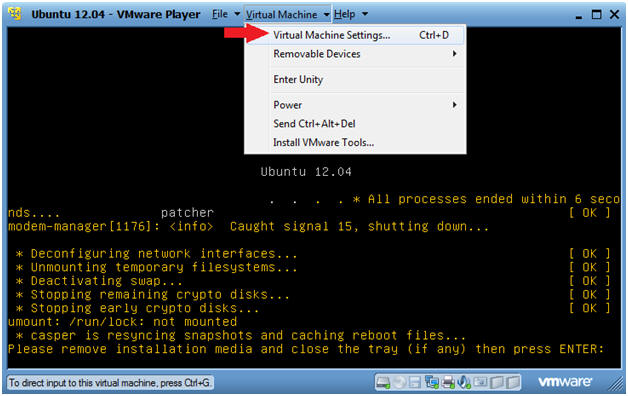
Please remove installation media
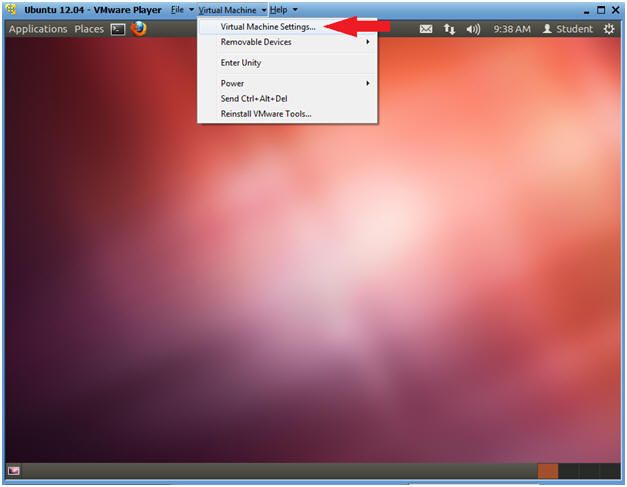
Instructions
Virtual Machine --> Virtual Machine Settings...
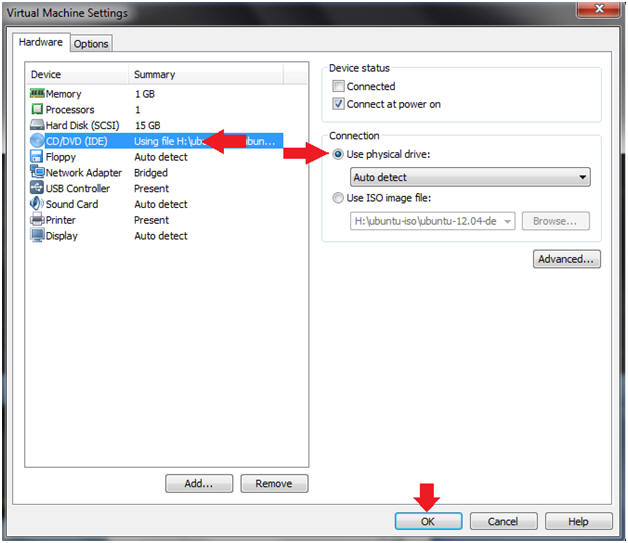
Virtual Machine Settings
Instructions
Select CD/DVD (IDE)
Select Use physical drive: Auto detect
Click OK
Press Enter
Instructions
Press Enter

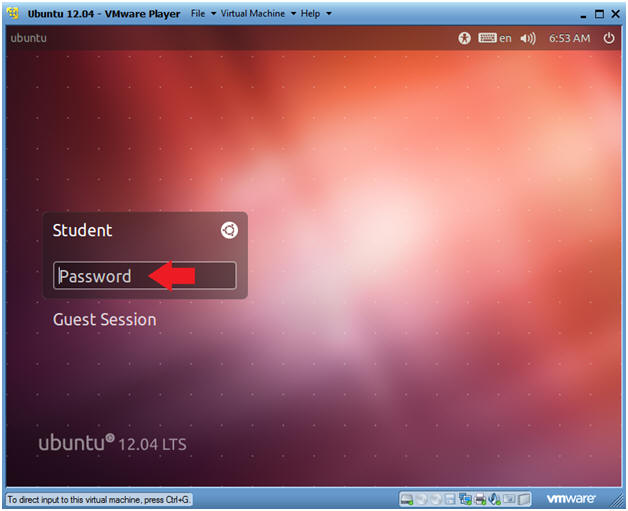
- Logging in for the first time
- Instructions
- Type in the password you created in (Section 3, Step 18)
- Press
| Section 5. Start Up Terminal Window |
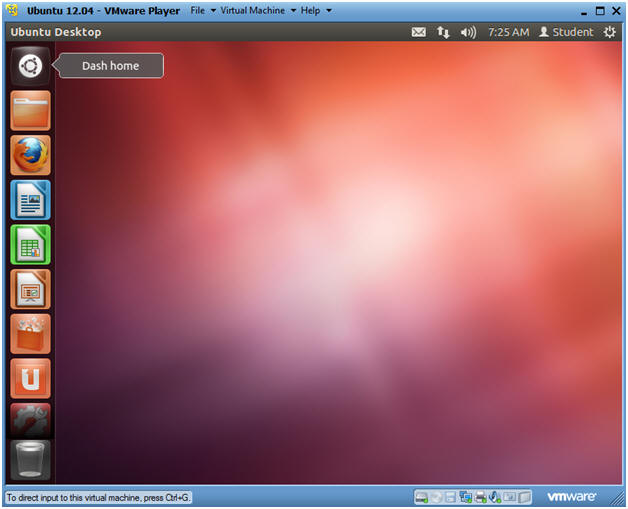
- Ubuntu Dash
- Instructions
- Click on the Ubuntu Dash
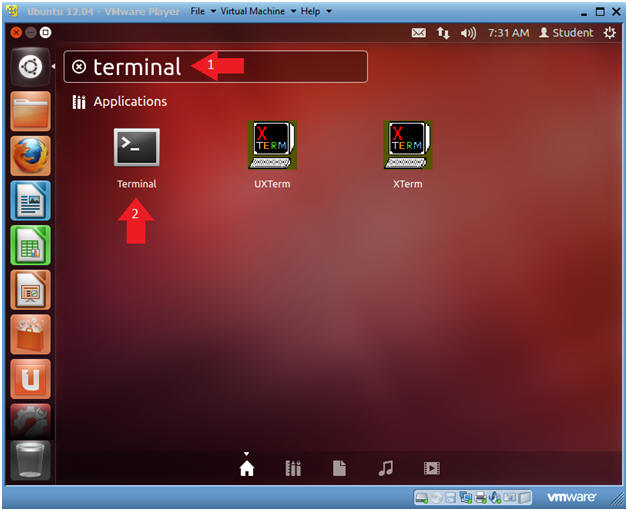
Terminal Windows Search
Instructions
Type "terminal" in the search box.
Click on the terminal.
| Section 6. Becoming the root user |
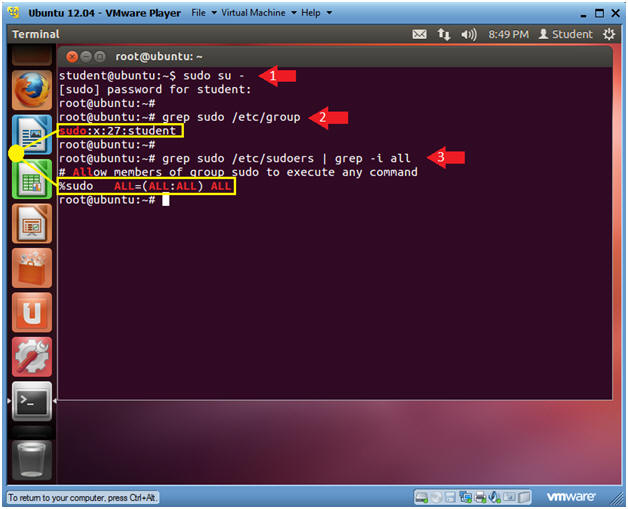
- Becoming Root
- Instructions
- sudo su -
- Note: Enter your student password.
grep sudo /etc/group
Note: By default, the initial user created will be added to the sudo group.
grep sudo /etc/sudoers | grep -i all
Note: By default, the sudo group in the sudoers file can issue any command on the system. For this reason, the student user can become root.
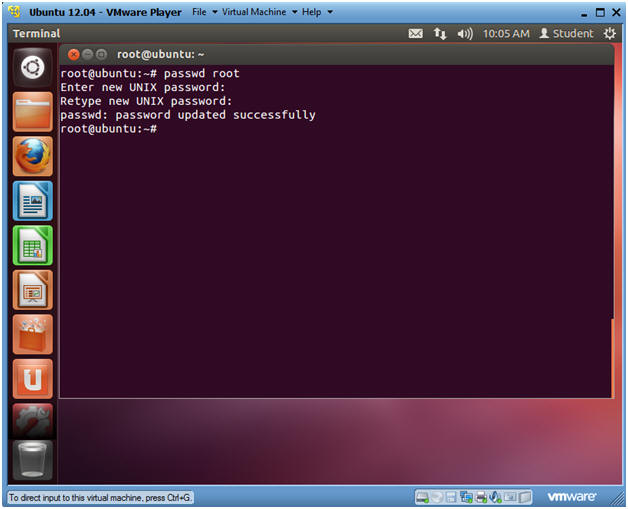
Changing the Root Password
Instructions
passwd root
Enter a new root password
Re-Enter the new root password
| Section 7. Install Gnome Classic |
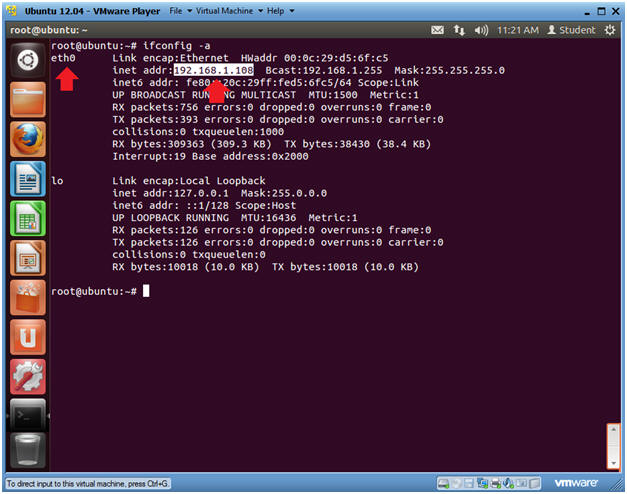
- Determine IP Address
- Instructions:
- Become the root user if you are already (See Section 6, Step 1)
- ifconfig -a
Notes:
eth0 is the name of my interface
192.168.1.108 if my IP Address
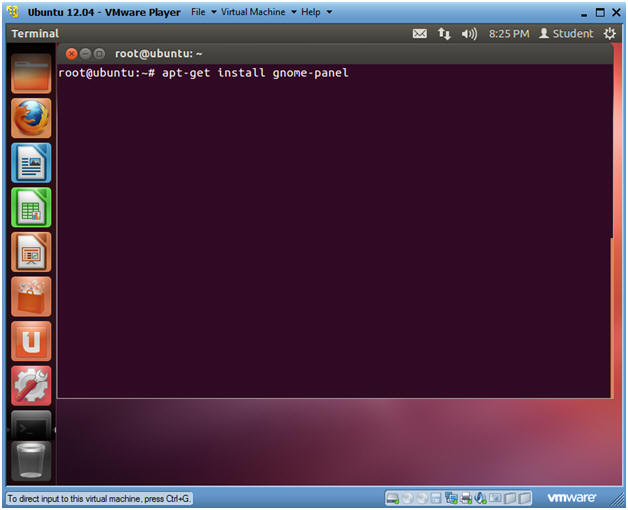
Install the Gnome Classic Interface
Instructions:
apt-get install gnome-panel
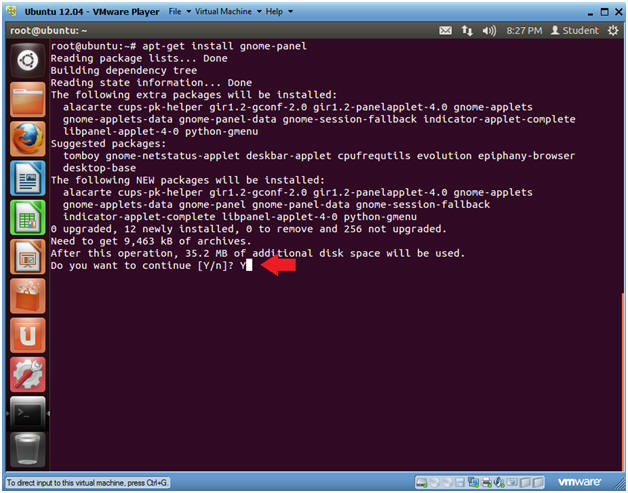
Install the Gnome Classic Interface (Step 2)
Instructions:
Do you want to continue [Y/n]? Y
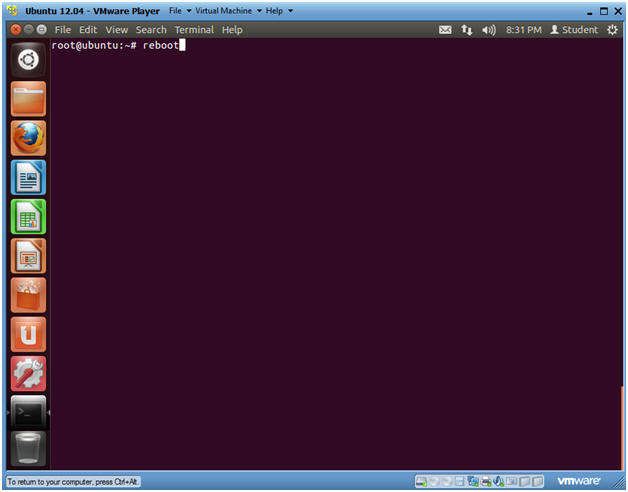
Reboot Machine
Instructions:
reboot
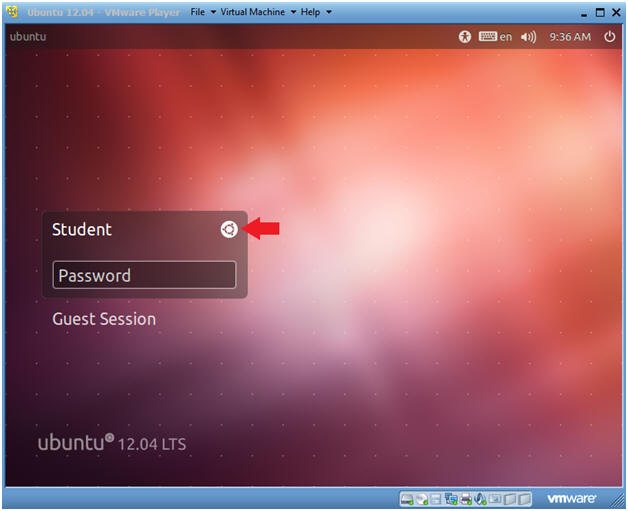
Change to Gnome Classic
Instructions:
Click on the Circle
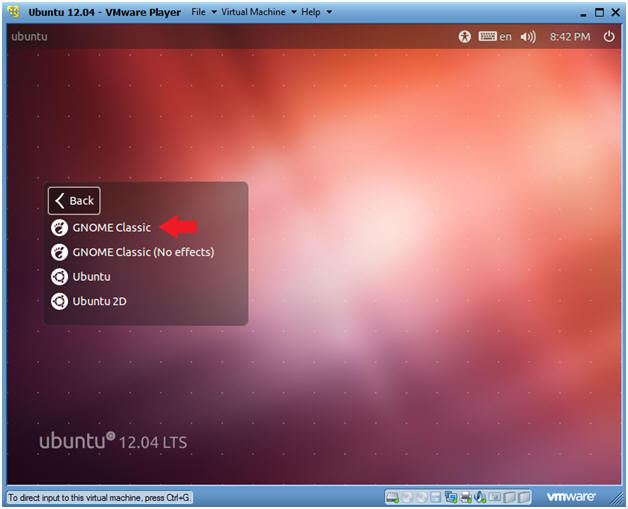
Select Gnome Classic
Instructions:
Double Click on GNOME Classic
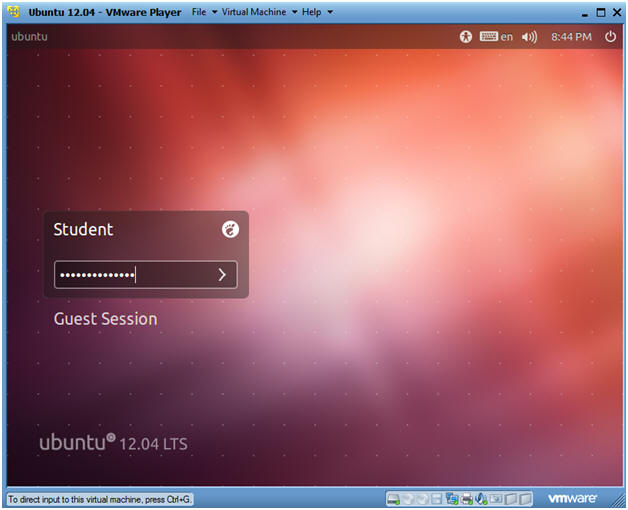
Login to Gnome Classic
Instructions:
Provide the student password you created in (Section 3, Step 18).
| Section 8. Basic Gnome Classic Configuration |
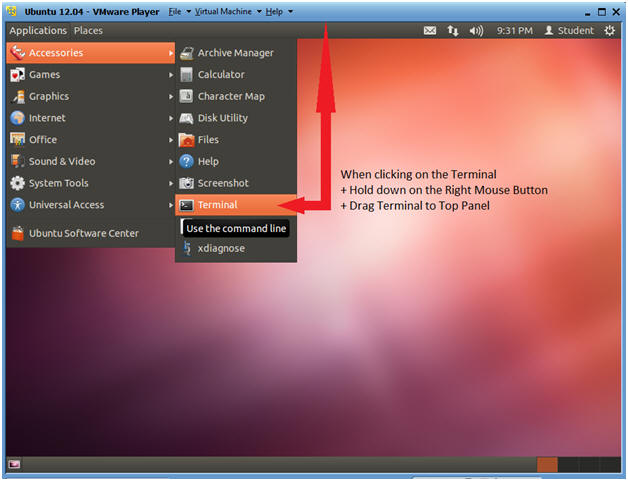
- Place Terminal on Top Panel
- Notes:
- In this step, we are going to drag the terminal window to the top panel.
Instructions:
Go to Applications --> Accessories --> Terminal
Hold down on the Left Mouse Button when clicking on the Terminal
Drag the Terminal to Top Panel
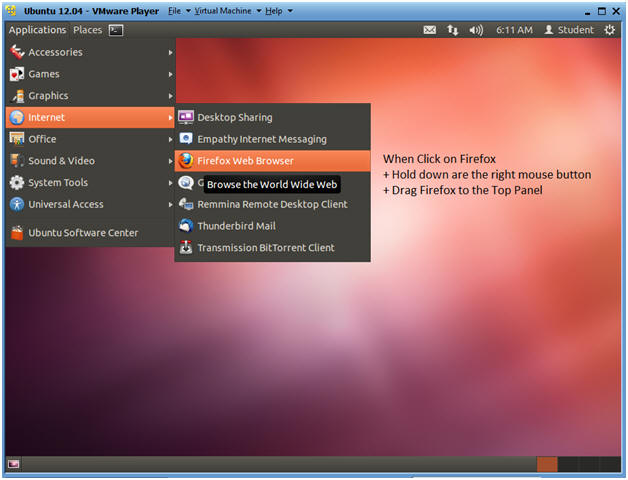
Place Firefox on Top Panel
Notes:
In this step, we are going to drag the Firefox to the top panel.
Instructions:
Go to Applications --> Internet --> Firefox Web Browser
Hold down on the Left Mouse Button when clicking on Firefox
Drag Firefox to Top Panel
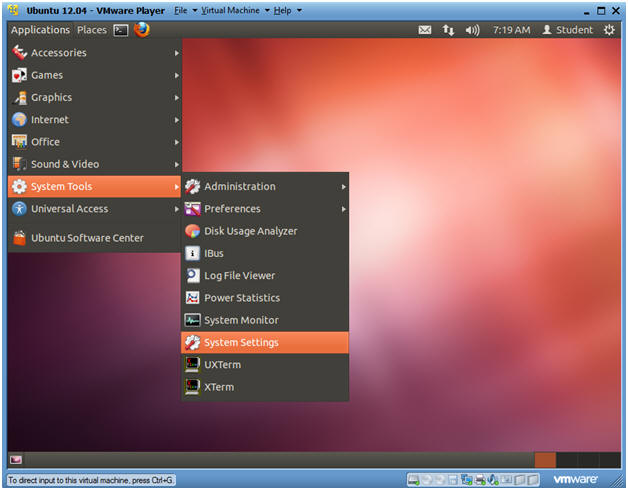
| Section 9. Configuring Date and Time |
- Go to System Settings
- Instructions:
- Applications --> System Tools --> System Settings
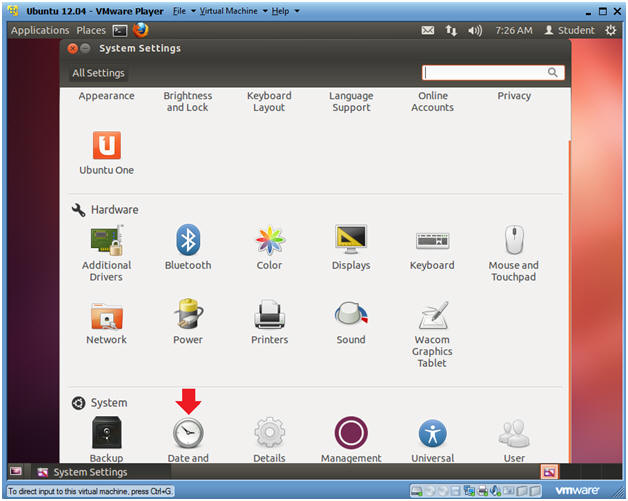
Date and Time
Instructions:
Click on Date and Time
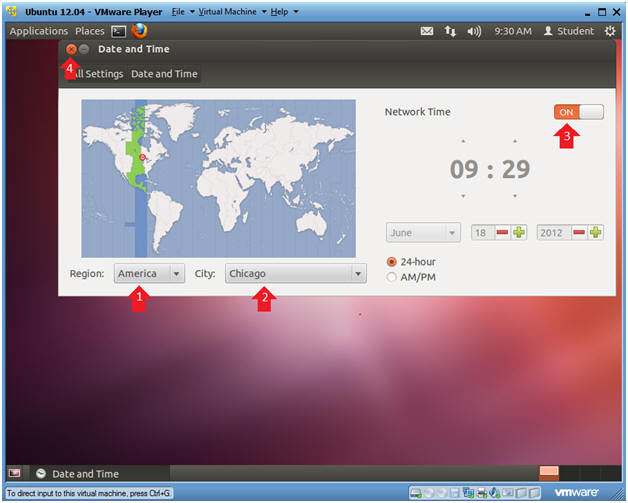
Change Date and Time
Instructions:
Region: Set to your Region, in my case, America.
City: Set to a city in your Timezone, in my case, I am in the central time zone.
Network Time: Make sure ON is selected.
By selecting ON, both your time and date will automatically be sync'ed toward your timezone.
Click on the X to close
| Section 10. Post VMware Configuration |
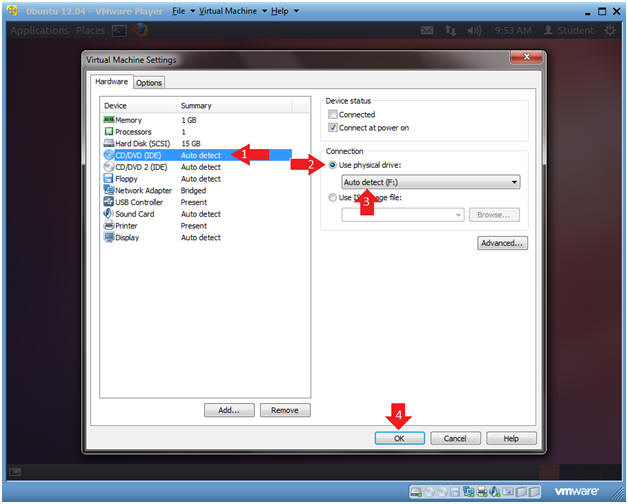
- Virtual Machine Settings
- Instructions:
- Virtual Machine --> Virtual Machine Settings...
Edit CD/DVD (IDE)
Instructions:
Select CD/DVD (IDE)
Select the radio button "Use physical drive:"
Make sure Auto Detect is selected from the down drop box.
If #2 and #3 were NOT already set, Click OK. If #2 and #3 WERE already set, Click Cancel.
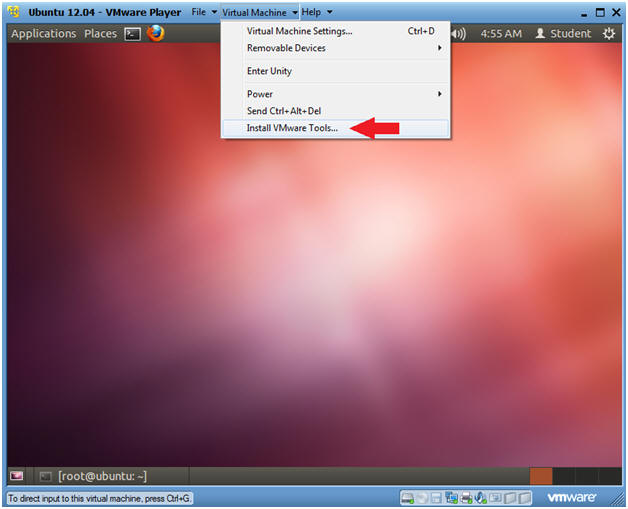
| Section 11. Install VMware Tools |
- Install VMware Tools
- Instructions:
- Virtual Machine --> Install VMware Tools...
Become Root
Instructions:
sudo su -
This is not necessary if you are already root.
df -k
Notice the new file system called /media/VMware Tools

Unzip VWware Tools
Instructions:
cd /media/VMware\ Tools/
cp VMwareTools*.tar.gz /var/tmp/
cd /var/tmp
tar zxovf VMwareTools*.tar.gz

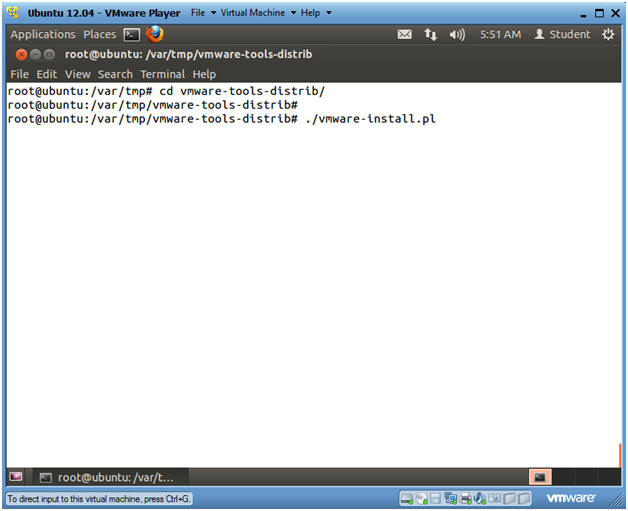
Execute the vmware-install.pl
Instructions:
cd vmware-tools-distrib/
./vmware-install.pl
Accept all the default answer by pressing Enter for every question.
- Start up a Terminal Windows
- Instructions:
- Click on the Terminal Window
- OR
Applications --> Accessories --> Terminal
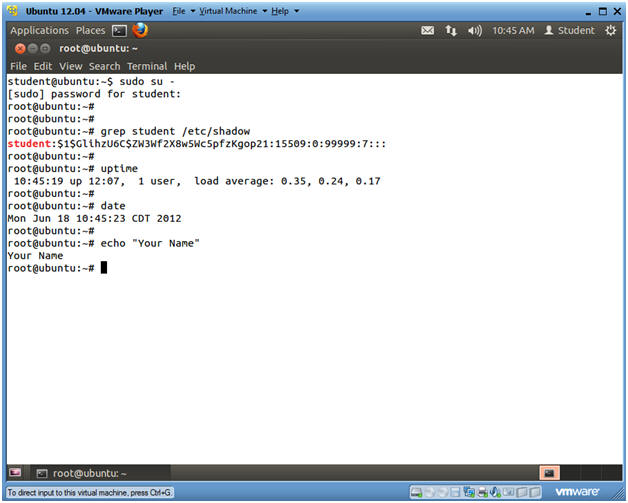
Proof of Lab
Proof of Lab Instructions
su - root, if you are not already root.
grep student /etc/shadow
uptime
date
echo "Your Name"
Replace the string "Your Name" with your actual name.
e.g., echo "John Gray"
Do a
Paste into a word document
Upload to Moodle
|
 
Help ComputerSecurityStudent
pay for continued research,
resources & bandwidth
|
https://old-releases.ubuntu.com/releases/12.04/ubuntu-12.04-desktop-i386.iso |
|